I went to Bunnings and purchased some insulation panels for the design wall and then to spotlight for some more flannelette material to cover them. I did cover them with batting first then white flannelette. I purchased some of those command picture hanging velcro to attach it to the wall. These should be strong enough as I have used them for a large poster frame with glass which is quite heavy and that has stayed up so far. However we will need to see how they fair during our very hot summers here.
 |
| The design wall attached to the wall. |

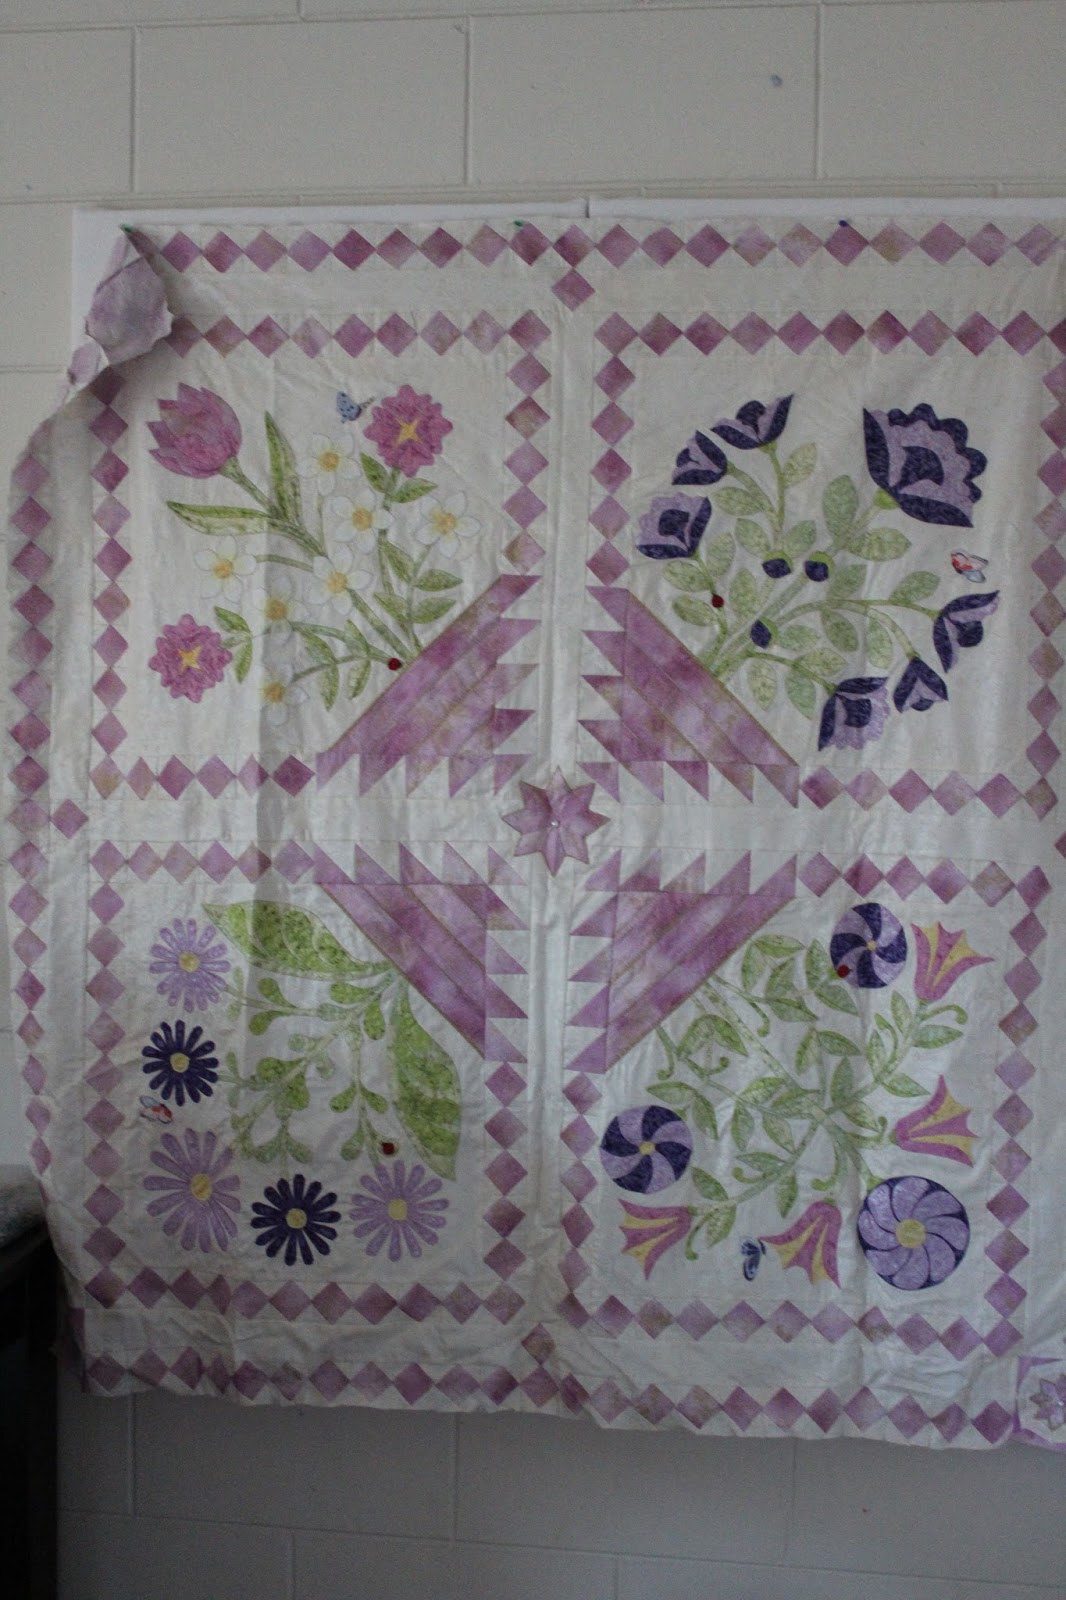 |
| With the Diamond Hill Project pinned up to remind me I need to get back to it. |
For the ironing board cupboard I purchased two cube storage cupboards from Super Amart Furniture and then a piece of MDF the same length as the two cupboards and just a bit wider than the cupboards were (this way I don't have to cut anything down). I also purchased two square molding pieces to attach to the top of the cupboard to stop the ironing board from moving (I was able to get Bunnings to cut these two long pieces into four pieces each - Yay saved me doing this).
I then placed a layer of batting, then a layer of insul bright, and another layer of batting on top then some material to cover it all and make it look pretty. I stapled all these on the board and pulled it tight for each layer. I then placed a piece of molding on each side of the cupboards & ironing board and a nail at each end of the ironing board to help hold it in position and stop it slipping and sliding around.


I now have a wonderfully flat ironing board (my normal ironing board had warped a bit which made trying to iron seams open a bit more painful), as well as storage space underneath it utilizing all that space that was wasted by the legs of the old ironing board. I have used this and love the feel of it under the iron, even my daughter thinks it is better than the old ironing board, so a winner I think.
I also picked these thread racks up from spotlight on sale and hung them up, I have one at the side of my embroidery machine as shown here. I attached these with command hooks and some picture wire tied around the thread rack to hang on the hook. The embroidery machine needed another thread rack as had two spools over so I placed another one on top of this one, it looks really nice.
 |
| Embroidery Machine Thread Rack |
 |
| Needed another thread rack for the Embroidery Machine - too many threads for one. |
 |
| Embroidery Machine & applique table |
This one is hung at the end of my sewing table so it will be in easy reach when I am sewing. As you can see I have my current projects stacked up under the thread rack which include the Garden Window quilt, Diamond Hill quilt and my Mariner's delight quilt (which I hope to finish after the Garden Window quilt). I promise I will include the progress of this quilt when I get back to it.


My sewing room is starting to look like a sewing room now and not just a boring bedroom with some sewing stuff in it. Though I keep finding sewing things all over the house to move into my room. I have only had my sewing room for about a year and half so far before that I was on the kitchen table and spread into the lounge room (which my two kids complained about especially if they sat on a pin or two :)). So was thrilled when oldest child moved out to relinquish his bedroom to my sewing, my teenage daughter thinks its great that I have my own room, except the dog keeps eating the small bits of fabric and cotton that fall on the floor.
So hopefully I can get back to sewing this upcoming week and finish off the applique border for the Garden window quilt. Till next time - keep sewing :)
You sure have got me thinking LOL Great idea that ironing space you have made, I never can find an ironing board wide enough and you have all that space underneath to utilise instead of been wasted under a ironing board!!!!!! you have also given me an idea to make a design wall from some ceiling insulation we have let over??????? Now I just need time LOL Cheers Glenda
ReplyDeleteHaving a dedicated space with everything set up, is something we all dream of. When it becomes reality, you will discover one amazing thing Annette, you will finish so much more and start so much more projects. I love your iron board and the shelves below. Ikea has a similar shelve, which I want to incorporate for a cutting area in my sewing space. Especially with all the storage, in those cubbies.
ReplyDeleteI'm so jealous!! Could you come to my house next?? My sewing/craft room is a total disaster and that is an understatement.
ReplyDeleteI love how you made an ironing spot on top of your cubby storage...now that is one awesome idea. My cubby storage units aren't by my sewing desk though and as it is right now there is no way to rearrange so that it can either.
Thank you all for your encouraging comments I really appreciate it. Marsha I used to have all my sewing stuff stashed in different parts of the house and different rooms as I didn't have a room I could put it all in. I am still finding things to put in there.
ReplyDelete